This morning I’ve been attempting to get LibGDX working with the IntelliJ IDEA IDE as described in this tutorial. However, I quickly ran into a problem. In the instructions it says the following:
Install the latest stable platform via the SDK Manager.
Sounds all well and good, but imagine my surprise when I find out that Google removed the SDK Manager GUI which is really confusing since every tutorial on the web still instructs you to use it. After some poking around, I discovered that you can either download Android Studio (which I’d rather not since it takes up a lot of space) or download the Android Command Line Tools. Problem solved? Well, not quite. Once again, I ran into some inconsistencies with documentation that was available and how the tools actually responded. Everyone online mentions how you need to use the android command in the command line to install packages, but in fact this command has been deprecated. Now we need to use the sdkmanager command instead.
Ok then, well according to the sdkmanager documentation, I just need to run sdkmanager.bat --list to see all available packages right? Wrong! According to this StackOverflow thread, you’ll get an error where the sdkmanager can’t move away the tools folder. So instead you need to follow user ahasbini’s advice:
copy the
toolsfolder to another place (let’s sayC:\temp\). Then direct into theC:\temp\tools\bin\, open the cmd prompt there and run your update commands as such:
sdkmanager.bat --sdk_root=sdkRootPath --commandWhere
sdkRootPathis path to your original SDK folder (C:\testinstall\sdk\). Once that is done, delete theC:\temp\tools\copied folder.
Yeesh. What a bunch of work for something that should have been so simple! I feel that Google had only left the SDK Manager GUI intact, we wouldn’t have to go through all of this!
Well, anyway, here’s what I had to do to get the the thing working:
- I installed a some Android packages using the following commands (not sure if all of them are necessary):
sdkmanager.bat --sdk_root=C:\testinstall\sdk\ "platforms;android-25"
sdkmanager.bat --sdk_root=C:\testinstall\sdk\ "sources;android-25"
sdkmanager.bat --sdk_root=C:\testinstall\sdk\ "build-tools;25.0.3"
sdkmanager.bat --sdk_root=C:\testinstall\sdk\ "tools"
- I followed the instructions on this page to generate a LibGDX project, which consisted of (a) downloading the LibGDX Project setup tool “gdx-setup.jar”, (b) running
java -jar ./gdx-setup.jarin the download folder (c) setting up the project as indicated and making sure to go to “advanced” and check the IntelliJ box. - Next, I had to import the LibGDX project into IntelliJ. For that, I followed the steps on this page. I went to
Import Project, navigated to my project folder and selected thebuild.gradlefile. I HitOKand in the next dialog, I unchecked theCreate separate module per source setbox and hitOKagain. A final window will appeared asking which modules to import. I left everything checked and clickedOK. - Now that the project was imported (finally!), I wanted to make sure it would run correctly. I continued with the notes on that page and followed their instructions:
(a) Go to
Run -> Edit Configurations...(b) Click the plus (+) button and select
Application
(c) Set theNametoDesktop
(d) Set the fieldUse classpath of moduletodesktop(e) Click on the button of the
Main classfield and select theDesktopLauncherclass
(f) Set theWorking directoryto yourandroid/assets/(oryour_project_path/core/assets/) folder
(g) ClickApplyand thenOK. - Now, I was planning on running this through the web browser as mentioned in the html section of this page, but I my localhost:8080 port is in use at the moment and causes conflicts if I try to use it for LibGDX. So instead, I decided to compile the program as an executable .jar file instead. To do so, I followed the Packaging for the Desktop instructions on this page – In the IntelliJ command line I typed
gradlew desktop:distand a .jar file containing all the necessary code and assets from theandroid/assetsfolder was created in my project’sdesktop/build/libsfolder. - Lastly, I navigated to the .jar and ran the following in the command line to run it:
java-jar desktop-1.0.jarand voila, the “game” came to life! (Double-clicking it also works)
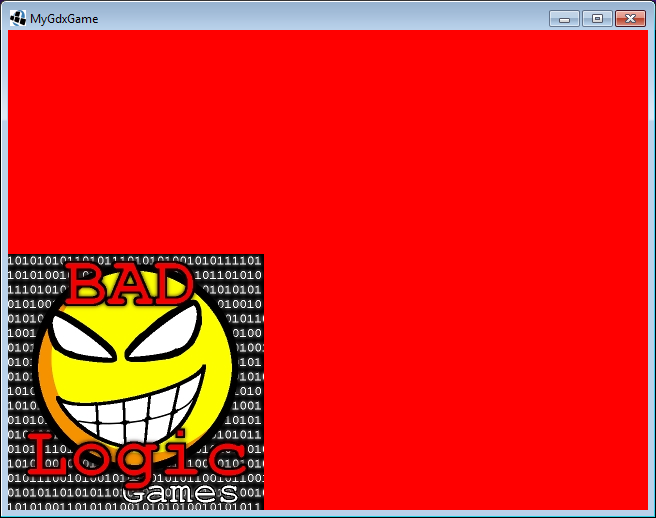 Phew! It was a lot of work to get working, but now I have the basic layout setup so I can actually start developing some stuff with this. Pretty exciting!